Beginner Guitar Checklist: From First Guitar to First Gig (No Fluff)
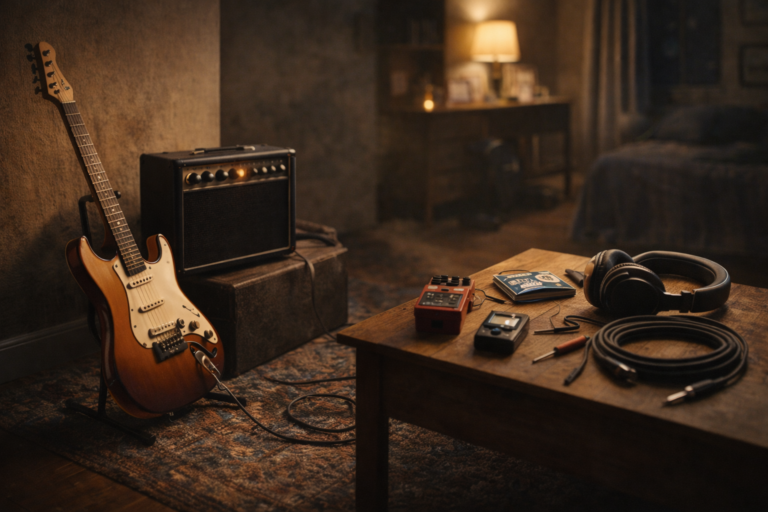
This beginner guitar checklist is a practical guide for starting strong without buying random stuff you don’t need. The goal is simple: practice comfortably at home, sound good enough to stay motivated, and build a setup that can grow into your first jam or gig.
Use this like a real checklist. Skip what doesn’t apply. If you already own something, you don’t need to “upgrade” just because the internet told you to.
Beginner Guitar Checklist: Quick Start (The Minimum That Works)
If you want the shortest path to a workable setup, this is it:
- A guitar that stays in tune (a basic setup matters more than the logo)
- A practice solution: small amp, multi-FX, or amp sim
- Tuner (clip-on is fine)
- Picks + spares
- One decent cable (two if you can, so you have a backup)
- Comfort basics: strap, stand, extra strings
If you play at home and need quiet practice, pair this with best practice amps under $200 and best budget headphones for guitar practice.
Step 1: Choose a First Guitar That Won’t Fight You
What actually matters (in plain English)
- Tuning stability: if it drifts constantly, every practice session becomes frustrating.
- Comfort: neck shape, scale length feel, and weight matter more than body style.
- Fretwork: sharp fret ends and uneven frets make learning harder than it needs to be.
- Basic electronics: noisy switches and crackly knobs are fixable, but annoying.
Beginner-friendly neck and body tips
- Neck feel: most beginners do best with a comfortable “medium” neck rather than an ultra-thin shred neck or a huge vintage baseball bat.
- Weight: lighter guitars are easier to hold for long practice blocks.
- Action: if it feels hard to press chords, the guitar likely needs a setup (not “stronger fingers”).
Five quick checks before you buy (in 2 minutes)
- Tune it, play it: strum hard for 30 seconds, then re-check tuning. If it drops instantly, something is off.
- Slide your hand along the neck edge: sharp fret ends can make practice miserable.
- Play a few notes up the neck: if it buzzes everywhere or chokes out, it likely needs a setup.
- Turn the knobs: if the volume/tone crackles loudly, it’s a quick fix—but it tells you about overall QC.
- Hold it standing up: if it feels awkward or heavy now, it will feel worse after 30 minutes.
Pickups: don’t overthink it
Single coils can sound bright and clear, humbuckers are thicker and usually quieter. Both work for beginners. If you love heavier rock, humbuckers can feel easier. If you want clean and funk-style clarity, single coils are fun.
Bridge types (simple guidance)
- Fixed bridge: easiest to live with as a beginner.
- Vintage-style trem: fine if you don’t abuse it and the guitar is set up properly.
- Floating trem / locking systems: not “bad,” but more maintenance and tuning headaches early on.
If you want a realistic shopping list, start with electric guitars under $300. It’s a good way to filter out guitars that look great on paper but feel cheap in your hands.
Step 2: Your Practice Sound (Amp vs Amp Sims vs Multi-FX)
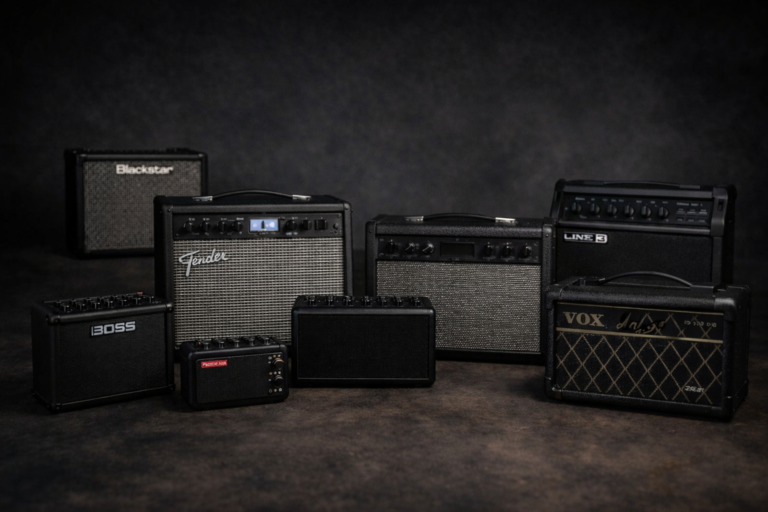
Option A: A small practice amp
The simplest path: plug in and play. A good practice amp removes friction. Look for a clean sound you like, a driven sound that doesn’t hurt your ears, and a headphone out if you need silent practice.
- Good signs: usable clean, usable crunch, headphone out, AUX/Bluetooth for backing tracks.
- Red flags: only one harsh gain sound, noisy headphone out, or “loud only” with no usable low-volume tone.
Option B: Amp sims on a computer
This can sound amazing on a budget if you keep latency under control. If your playing feels “delayed,” you will struggle with timing and groove.
- Basic chain: guitar → interface → amp sim + cab/IR → headphones/speakers
- Reality check: cab/IR choice often matters more than the amp model.
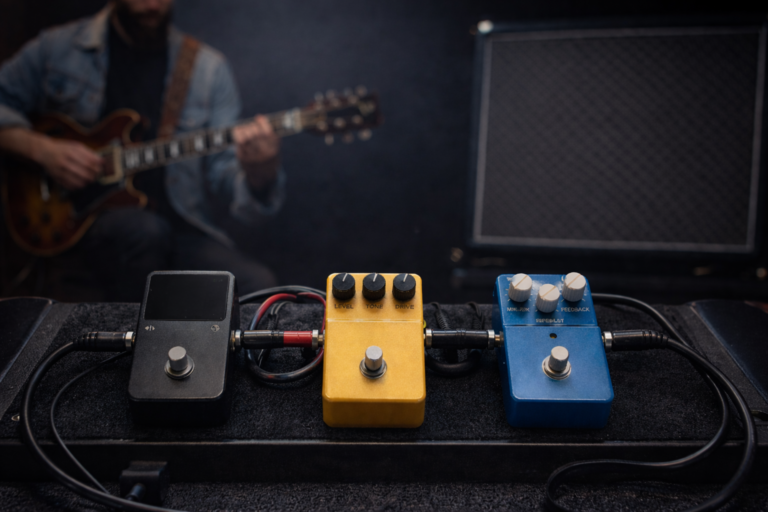
Option C: Multi-FX / modeler
Good if you want effects and variety without a computer. Many beginners stick with one good clean and one good driven tone for months, and that’s totally fine.
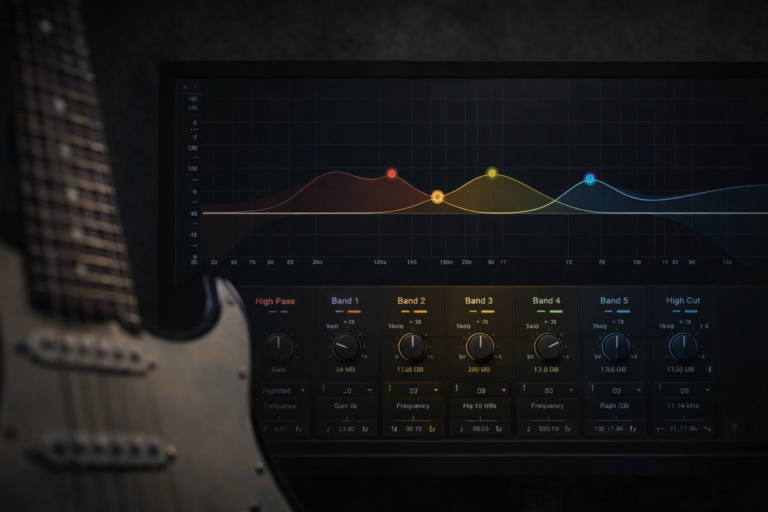
Home volume reality (neighbors, harshness, and motivation)
Most “bad tone at home” issues happen at low volume: harsh highs, fizzy gain, and thin feel. If you have to keep volume down, use a headphone out or headphones more often, keep gain lower than you think, and rely on a good cab sim/IR for fullness. If your tone still feels wrong, start here: why your electric guitar sounds bad at home and how to fix it, then use our guitar EQ guide for quick fixes.
Step 3: Essentials You Actually Need
Shopping list (buy once, cry never)
- Tuner: clip-on is great; pedal tuners are for later if you gig.
- 1–2 cables: one primary + one backup is ideal.
- Picks: variety pack (thin/medium/heavy) so you learn what you like.
- Extra strings: at least one spare set; two is better.
- Strap + stand: posture and convenience matter more than people admit.
- String winder + cutters: cheap, saves time, makes restringing less annoying.
Why these matter
Beginners quit from friction. A missing tuner, a broken cable, or no spare strings can kill momentum for a week. These basics keep you playing.
Step 4: Get a Basic Setup (This Is a Cheat Code)
A proper setup can make a cheap guitar feel expensive. If your action is too high, chords hurt and you avoid practice. If it’s too low, it buzzes and sounds bad. A basic setup usually includes:
- String height (action): easier fretting, better comfort.
- Neck relief (truss rod): keeps the guitar playing clean across the neck.
- Intonation: chords and higher notes stay in tune with each other.
- Pickup height: too close can sound harsh or cause weird tuning issues.
String gauge tip (avoid the beginner pain trap)
If your strings feel painfully stiff, the issue may not be your hands. Thick strings plus high action can make basic chords feel impossible. A setup with a beginner-friendly string gauge can make learning dramatically easier.
Simple “do I need a setup?” checklist
- Chords hurt even when your technique is decent.
- The guitar won’t stay in tune after normal playing.
- Open chords sound fine but higher notes sound “off.”
- Buzz happens everywhere or only in certain spots.
If you don’t want to do it yourself, paying a tech once is one of the best beginner investments you can make.
Step 5: Practice Checklist (Simple, Repeatable)
This is a beginner-friendly structure you can run in 20–45 minutes. The point is consistency, not perfect sessions.
1) Warm-up (3–5 minutes)
- Chromatic exercise slowly, relaxed fretting hand
- Open chords focusing on clean sound (no buzzing)
2) Timing (5–10 minutes)
- Metronome: downstrokes, then alternate picking
- One simple riff: start slow, lock in, then increase gradually
3) Chords + transitions (5–10 minutes)
- Pick two chord changes you struggle with
- Switch slowly with clean fretting, then speed up
4) Technique focus (5–10 minutes)
- Muting practice (both hands)
- Simple bends or vibrato (don’t rush this)
5) A song you actually like (10–20 minutes)
Motivation matters. Pick a song slightly above your comfort zone. If you can’t play it clean, slow it down and loop the hard part.
6) Record a 30-second clip (2 minutes)
Use your phone. You will hear timing and noise issues you don’t notice while playing. This is one of the fastest ways to improve.
7) Cooldown (1–2 minutes)
Play something easy, end on a win, and stop before you are frustrated.
Step 6: Your First Jam (What You Need, What You Don’t)
Your first jam is mostly about time and confidence, not fancy gear.
- You need: reliable cable, tuner, spare picks, basic volume control, and a tone that isn’t painfully harsh.
- You don’t need: 12 pedals and 50 presets.
- Practice: tight rhythm parts and clean chord changes—jams punish sloppy timing, not “bad pickups.”
Jam communication checklist (do this before you play)
- Tempo: agree on a BPM or at least a clear feel (slow/medium/fast).
- Key: confirm the key so your chords and lead notes make sense.
- Structure: intro → verse → chorus → bridge (even a simple plan helps).
- Stops and endings: decide how you end the song before you start it.
- Volume: set levels once, then play—don’t fight the mix mid-song.
Jam survival tips
- Know the key and the chord progression.
- Play simpler than you think you should.
- If you get lost, drop to root notes and lock with the drummer/bass.
Step 7: First Gig Basics (Don’t Overpack)
- Guitar + strap
- Two cables (one spare)
- Tuner
- Spare strings + picks
- Small tool kit: winder, cutters, a basic multi-tool
- Simple power strip if you use any pedals/modeler
Gig day checklist (simple but real)
- Arrive early enough to set levels calmly.
- Keep your gain lower than bedroom settings (it sits better live).
- Do not chase tone for 30 minutes—set it, play, adjust once if needed.
The real gig skill is not gear—it’s being able to play your parts consistently and stay in time.
Common Beginner Mistakes (And Easy Fixes)
- Buying upgrades too early: a setup and consistent practice beat “new gear.”
- Too much gain: it hides mistakes at first, then blocks progress.
- Ignoring timing: use a metronome earlier than you think.
- Practicing only what you are good at: loop the hard parts.
- Not recording yourself: even a phone clip shows what you miss while playing.
- Stopping for a week after a bad session: shorten the session instead of quitting it.
Verdict
This beginner guitar checklist is built to keep you practicing and progressing. Start with a guitar that stays in tune, a friction-free practice sound, and a few essentials. Get a basic setup, then build skills with small, repeatable practice blocks. You will improve faster than you think—without wasting money.
FAQ
What is the most important thing to buy first?
A guitar that stays in tune and a practice solution that makes you want to play. Everything else is secondary.
Do I need pedals as a beginner?
No. A decent practice amp or a simple modeler is enough. Focus on timing, chords, and clean technique first.
How often should a beginner practice?
Consistency beats long sessions. Even 15–30 minutes a day is enough if you focus and use a metronome.
How do I know if my guitar needs a setup?
If chords hurt, the action feels high, the guitar won’t stay in tune, or notes buzz badly, a setup will usually help a lot.