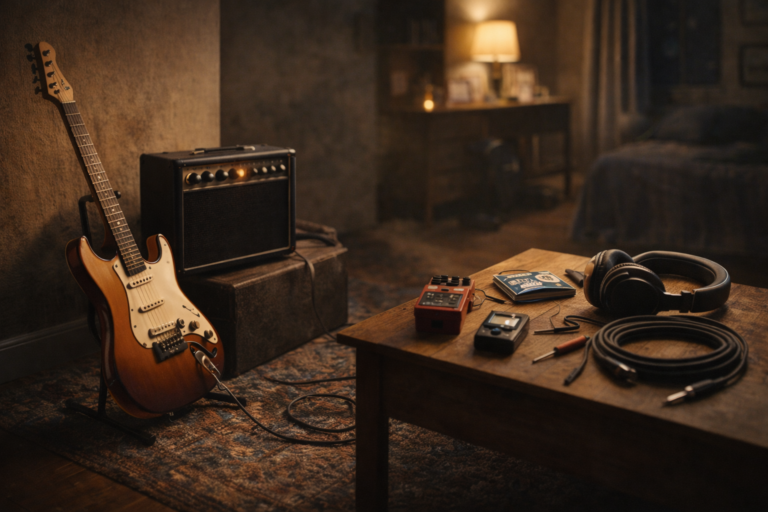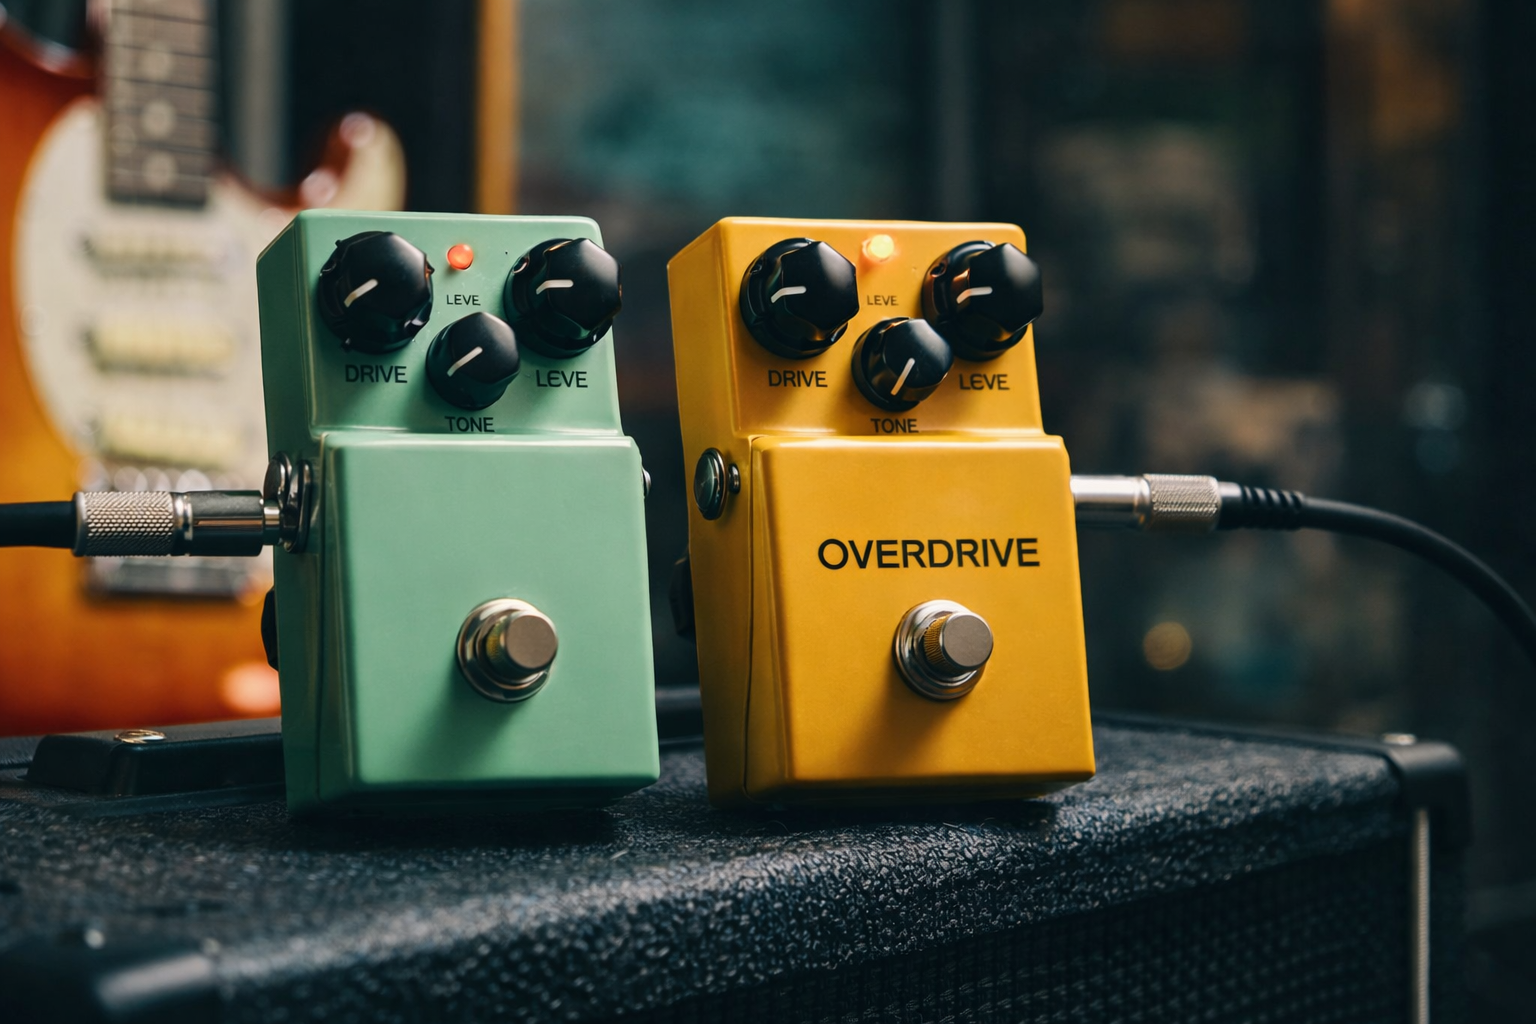
Overdrive Pedal Explained: Clean, Crunch, Lead Settings
This is your plain-language overdrive pedal explained guide, written for real home-volume players who want clean, crunch, and lead sounds they can actually dial in.
If you’ve ever asked “what does an overdrive pedal do?” this is the no-hype breakdown: what it actually changes, where it goes in your chain, and clean, crunch, and lead settings you can copy first—especially if you play at normal home volume.
Quick take: Overdrive is less about “more gain” and more about feel: a little clipping + compression + EQ shaping that makes your guitar respond like it’s closer to the edge of breakup.
New here? Start with the full beginner hub: Guitar Pedals for Beginners (Pillar Guide).
The 60-second decision
Most people buy an overdrive because they want “better tone.” The faster way to decide is to name your real problem. Here’s the simple flow:
- You like your clean sound but it feels flat or stiff → overdrive is a great first “feel” upgrade.
- You want crunch at home volume without turning your amp up → overdrive is usually the most controllable option.
- You already have a great drive channel and you just want a touch more sustain for leads → use overdrive as a boost.
- You want modern high-gain tightness as the main sound → overdrive can help, but it won’t replace a distortion or amp gain channel.
Skip if: your amp/modeler already has a drive sound you genuinely love and you’re not missing sustain, control, or feel. You might get more value from reverb/delay, a looper, or better monitoring.
Better direction: if your main complaint is fizz/harshness at low volume, the “fix” is often EQ/IR/monitoring first—then gain. A lot of that lives outside the pedal itself; see this low-volume guitar tone guide for the bigger picture.
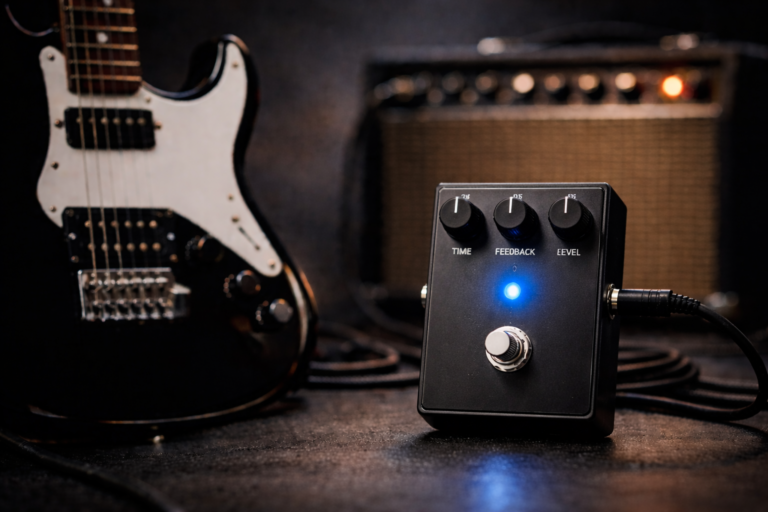
What overdrive actually does
Overdrive is easiest to understand as a gentle push that changes three things at once:
- Clipping (soft saturation): it rounds off peaks so notes feel smoother and more “connected.”
- Compression (feel): your picking gets slightly more even; sustain feels easier.
- EQ shaping: most drives change the balance of lows/mids/highs so the guitar sits better (and feels less thin).
This is why “overdrive pedal explained” pages that only talk about “more gain” feel wrong in practice: the feel + EQ is the actual reason players keep an overdrive on the floor for years.
Home-volume reality: At bedroom levels, too much gain often sounds smaller, not bigger. A good overdrive setting is usually low to medium drive with the level set correctly.
How an overdrive pedal works (in plain English)
Most overdrives take your guitar signal, boost it, shape it, then clip it gently. You don’t need electronics details—just this mental model:
1) Input level matters
Your pickups and volume knob change what hits the pedal. This is why overdrive can “clean up” when you roll your guitar volume down—there’s less signal pushing the clipping.
2) The Drive knob is not “the tone knob”
Drive sets how hard the circuit clips and compresses. At home, many players run Drive too high and then blame the pedal for fizz or mush.
3) Level is the secret control
Level (output volume) decides whether the overdrive is a subtle color, a boost into your amp, or a “second channel.” If you only change Drive, you’re missing half the pedal.
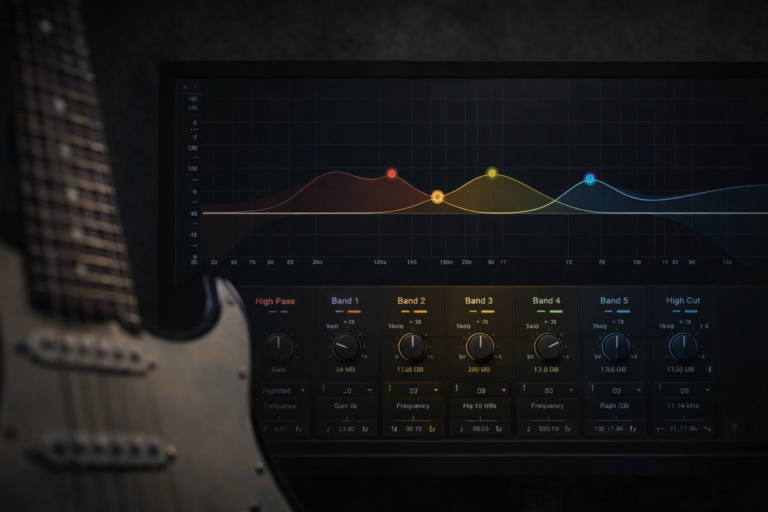
4) Tone is usually an EQ tilt
On many pedals, Tone is a broad tilt: more top end can add clarity, but it can also exaggerate harshness at low volume. Start at noon and move in small steps.
Overdrive vs distortion vs boost
This is where beginners get stuck, so keep it simple:
- Overdrive: moderate clipping + dynamics still feel alive. Great for edge-of-breakup, blues, classic rock, indie crunch, and “always-on” warmth.
- Distortion: more clipping + more compression. Tighter for heavier riffs, but less of your clean character survives.
- Boost: mostly volume (and sometimes EQ). A boost can be clean or slightly colored. Used to push an amp/modeler harder for solos or extra saturation.
For a full breakdown of how overdrive, distortion, and fuzz behave together in the same rig, you can read the comparison guide: Overdrive vs Distortion vs Fuzz.
Important: the same overdrive pedal can behave like a boost if you keep Drive low and Level high. That’s why “how to use overdrive pedal” questions often come down to Level, not Drive.
Where to put overdrive in your chain
The safe default is simple:
Guitar → Tuner → Overdrive → (other gain) → Modulation → Delay/Reverb → Amp
Overdrive before distortion
If you stack, putting overdrive before distortion can tighten the distortion and add mid focus. It can also reduce flub in palm mutes by shaping lows.
Overdrive after distortion
Overdrive after distortion is less common, but it can work like a “post-EQ/compressor feel” in front of delays and reverbs. Use it if your distortion is already the main sound and you just want a touch of smoothing.
Before or after fuzz?
Fuzz is its own weird universe. Start with fuzz first if you want it to clean up from the guitar volume knob. Put overdrive first if you want fuzz to get more stable and compressed. There’s no universal rule—use the setting table below as your starting point, then adjust by ear.
7 copy-first settings (clean / crunch / lead)
These are “start here” settings designed to work on most overdrives without turning your sound into mush. Use clock positions as a baseline, then match your output volume so you’re not fooled by “louder = better.”
| Goal | Drive | Tone | Level | What to listen for |
|---|---|---|---|---|
| 1) Always-on edge-of-breakup | 9–10 o’clock | Noon | Match clean (or +5%) | Notes feel “closer,” chords stay clear, no obvious fizz. |
| 2) Clean boost (push an amp/modeler) | 8–9 o’clock | 11–12 o’clock | 1–3 o’clock | Same basic tone, but more sustain and a stronger pick attack. |
| 3) Crunch rhythm (home-friendly) | 10–11 o’clock | 11 o’clock | Match or slightly above | Chords stay separated; palm mutes aren’t boomy. |
| 4) Smooth lead (singing, not harsh) | 11–1 o’clock | 10–11 o’clock | 1–2 o’clock | Single notes get thicker; top end stays polite. |
| 5) Tighten a high-gain amp | 8–9 o’clock | 11–1 o’clock | 2–3 o’clock | Less flub, more focus; pick response feels faster. |
| 6) Pedal platform (clean amp) | 12 o’clock | Noon | Match then adjust | The pedal becomes your “channel.” Keep it controlled and clear. |
| 7) Fix harsh low-volume fizz | 9–10 o’clock | 9–10 o’clock | Match clean | Less sizzle; more mid body. If it gets dull, brighten the amp slightly instead. |
If these settings still feel harsh or thin, the issue is probably more about how your rig behaves at home volume than the pedal itself. Walk through the simple steps in the low-volume guitar tone guide and the guitar EQ cheat sheet before you blame the pedal.
How to A/B like a sane person
- Set your clean tone first. Then turn the pedal on and match volume.
- Change only one control at a time.
- If you’re playing at home volume, try lowering Drive before you blame the pedal.
If you’re building your first small setup, these overdrive settings are meant to support the main hub on beginner boards: Guitar Pedals for Beginners.
Common mistakes (and fast fixes)
Mistake 1: Running Drive too high at home volume
Fix: Drop Drive until chords open up again, then raise Level slightly. You usually want clarity first, gain second.
Mistake 2: Tone knob used as a “more clarity” button
Fix: If the pedal gets harsh when you brighten it, try leaving Tone lower and adding a small treble lift on the amp/modeler instead. Pedal Tone often hits a sensitive high band that becomes fizzy fast. For a step-by-step view of which frequencies to nudge, use the guitar EQ cheat sheet.
Mistake 3: Thinking Level doesn’t matter
Fix: If the pedal sounds weak, you may be under-driving the next stage. If it sounds chaotic, you may be over-driving it. Level is how you choose what the pedal is doing in your rig.
Mistake 4: Stacking blindly
Fix: Decide which pedal is “the core sound,” then let the other one support it. Two medium-gain pedals at once often equals mush.
Mistake 5: Expecting overdrive to replace distortion
Fix: If you need modern metal saturation as your main sound, treat overdrive as a tightener/booster and get the main gain from the amp/modeler or a dedicated distortion pedal.
Overdrive “flavors” (quick map)
Different overdrives feel different mainly because of EQ and clipping style. This map helps you choose without getting lost in brand names:
- Mid-forward (tight, focused): helps you cut through, great for tightening gain and making leads pop. Can feel less “open” on its own.
- Transparent (keep your amp’s character): feels open, often great for always-on edge-of-breakup. Can sound thin if your amp is already bright.
- Thick/round (smooth lead feel): softer top end, more body. Can get congested if you stack too much gain.
- Low-end friendly (bigger chords): useful for single coils and clean amps, but can get boomy into already-bassy rigs.
If you’re curious how these flavors behave next to distortion and fuzz in a full gain chain, check the side-by-side comparison: Overdrive vs Distortion vs Fuzz.
Buying checklist
If you’re choosing your first overdrive, the winning move is to buy for your use case, not for hype.
- What’s your amp role? Clean pedal platform vs already-dirty drive channel.
- Do you need tightening? If yes, you probably want something more mid-focused.
- Do you need “always-on warmth”? If yes, look for a more open/transparent feel.
- Do you hate harsh highs at home volume? Prioritize smoother top end and keep Drive moderate.
- Will you stack? Choose one pedal to be “the base,” one to be “the helper.”
- Control layout: At minimum, Drive/Tone/Level. Extra switches are great only if you’ll actually use them.
Later, if you add a dedicated distortion pedal, you can reuse the same checklist to decide whether it should be your main gain sound or just a tighter second voice: see the electric guitar distortion pedal guide for ideas.
FAQ
What does an overdrive pedal do?
An overdrive pedal adds gentle clipping and compression and usually reshapes EQ. The result is a smoother, more responsive feel that can act like always-on warmth, home-friendly crunch, or a boost into an amp/modeler.
How to use overdrive pedal as a clean boost?
Keep Drive low (around 8–9 o’clock), set Tone near noon, then raise Level until your amp/modeler feels more alive and sustained. Match volume first, then push slightly if you want more saturation.
Where should overdrive go in the chain?
A safe default is guitar → tuner → overdrive → other gain → modulation → delay/reverb → amp. If you stack, overdrive before distortion often tightens and focuses the distortion.
Overdrive vs distortion: what’s the difference?
Overdrive is usually lower to medium gain with more dynamic response. Distortion adds more clipping and compression, giving heavier saturation and tighter aggression, but less “clean character.” For a deeper dive with fuzz in the mix as well, see Overdrive vs Distortion vs Fuzz.
Why does overdrive sound harsh at low volume?
At low volume, your ears are more sensitive to certain upper frequencies, and many pedals brighten the signal. Try lowering Drive and Tone first, then adjust amp EQ slightly instead of pushing pedal treble. For a full walkthrough of why amps and ears behave differently at bedroom volume (and how to fix that), check the dedicated low-volume guitar tone guide and the guitar EQ cheat sheet.
About this guide
Last updated: 2026-01-02
Who wrote it: a home guitarist who actually tested these overdrive settings on small practice amps and modelers at realistic bedroom volume, not just on spec sheets.
This guide is written to be practical and repeatable: a clear explanation of what overdrive does, a reliable signal-chain baseline, and copy-first settings you can refine in small moves.
What we check (when evaluating overdrive settings)
- Low-volume behavior: harshness, fizz, and whether chords collapse into mush.
- Pick dynamics: whether the pedal still feels responsive when you play softer/harder.
- Stacking compatibility: whether it tightens or muddies the next gain stage.
- EQ balance: how it affects low-end flub, mid body, and top-end bite.
Next step: If you’re building your first small pedal chain, go back to the hub and map your purchases in order: Guitar Pedals for Beginners.