Guitar Setup Order: Relief, Action, Intonation & Pickups
A setup is a chain, not a bag of unrelated adjustments
The correct guitar setup order matters because each adjustment changes the reference point for the next one. Set intonation, then change the action significantly, and you may have to intonate again. Balance pickup height, then lower the strings, and the pickup-to-string distance is no longer what you set.
A good guitar setup order moves from the variables that establish the guitar’s geometry to the variables that fine-tune how that geometry plays and sounds.
The practical guitar setup order for electric guitars
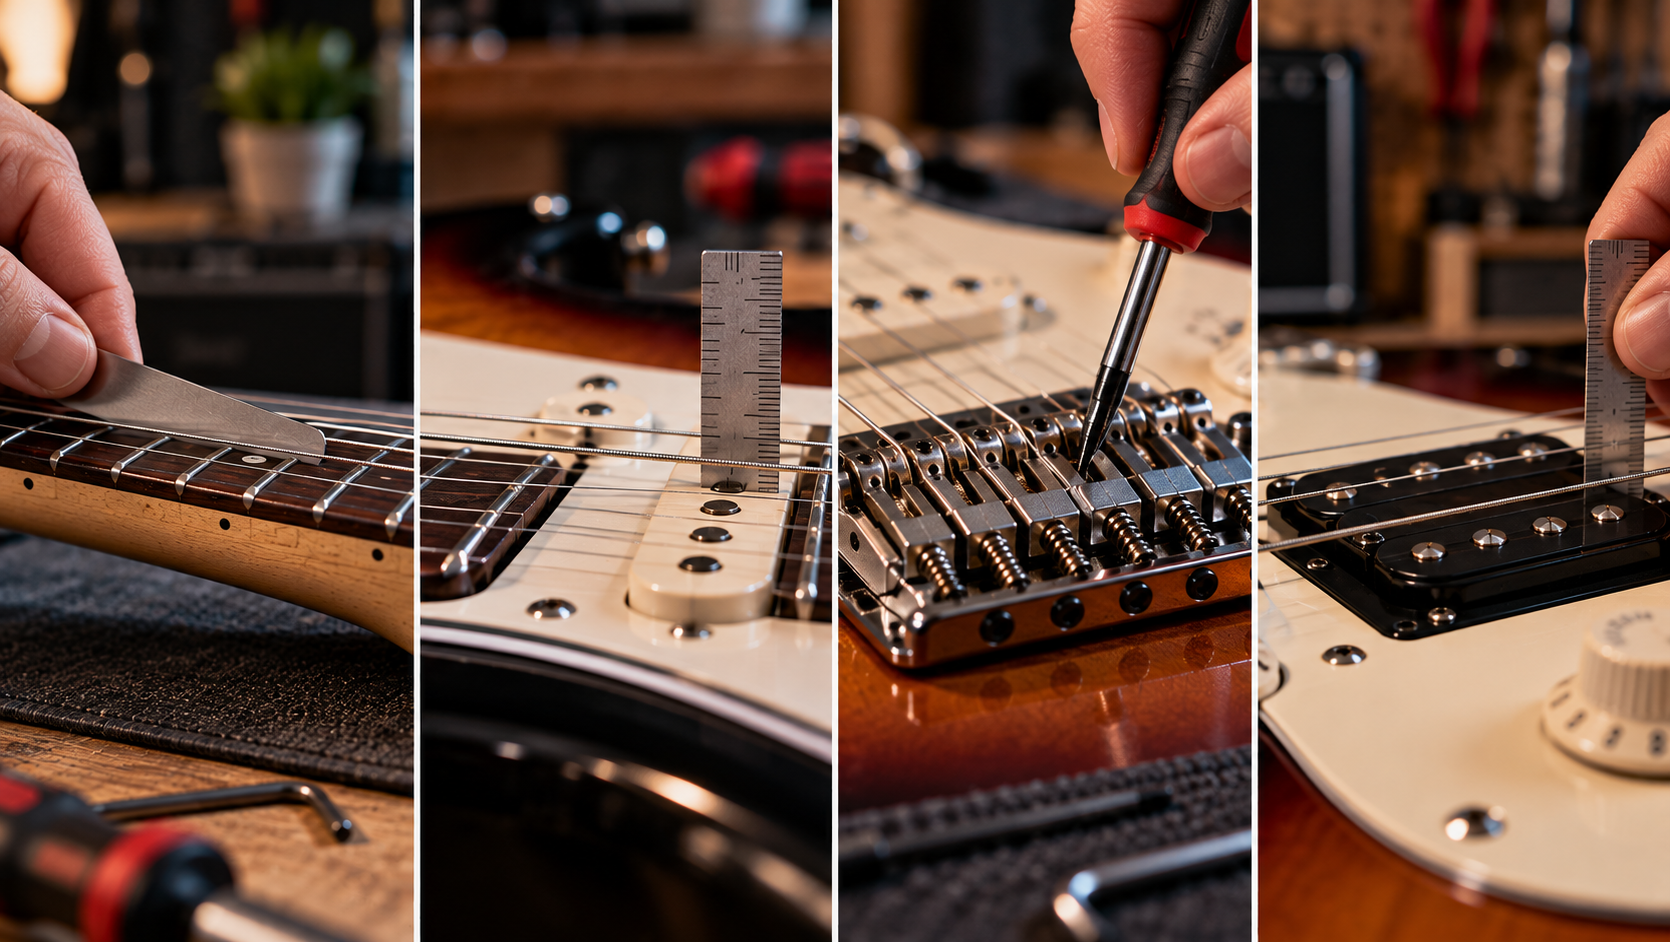
strings/tuning → relief → nut/bridge geometry → action → intonation → pickup height → play test
1. Strings and tuning come first
A setup is load-dependent. A neck under 9–42 strings in E standard is not under exactly the same load as the same neck with a heavier set tuned lower. A floating bridge also responds directly to string tension.
That is why the guitar setup order should begin with the string gauge and tuning you intend to keep. If you are still choosing, our Guitar String Gauges Explained guide covers the practical differences.
Changing gauge later does not guarantee the entire setup collapses, but it is enough to justify rechecking relief, bridge angle, action and intonation.
2. Inspect before adjusting
Adjustment cannot repair everything. Before turning a truss rod or bridge screw, look for obvious mechanical problems:
- loose neck bolts or hardware
- a visibly leaning or damaged bridge post
- deeply worn or uneven frets
- strings binding at the nut
- a saddle that cannot move through its normal range
- a floating bridge sitting far outside its intended position
The point is not to perform a professional inspection. It is to avoid spending an hour compensating for something that should be repaired instead.
3. Set neck relief before final action
Neck relief is the slight forward curvature that gives the vibrating string room over the middle frets. Because relief changes the string-to-fret relationship through a large section of the neck, it should be established before final bridge height.
Our Guitar Neck Relief guide explains the measurement and diagnosis in detail. The important distinction here is that the truss rod is not a generic action control.
Too much relief
The middle of the neck can feel unnecessarily high, tempting you to lower the bridge to compensate.
Too little relief
The lower and middle frets may lose clearance, tempting you to raise the bridge when the neck curve is actually the issue.
4. Check nut-slot height before blaming the bridge
A high nut can make the guitar feel stiff in the first few frets even when the action at the 12th fret is perfectly reasonable. It can also pull first-position notes sharp because you have to stretch the string farther to reach the fret.
A low nut can create open-string buzz while fretted notes play normally.
Nut work is less forgiving than saddle adjustment. If you are not comfortable filing slots, diagnosis is still valuable: at least you stop trying to solve a nut problem by lowering or raising the entire bridge.
5. Establish bridge geometry, then set action
On a fixed bridge, this step is straightforward: once relief and nut behavior make sense, set the string height at the bridge.
On a floating tremolo, bridge position is part of the setup. String tension pulls the bridge one way and spring tension pulls the other. If the bridge is tilting while you adjust action, your reference keeps moving.
Our Electric Guitar Bridge Types guide explains the mechanical differences. Once the bridge system is stable, use Electric Guitar Action Height for target ranges and How to Set Guitar Action for the adjustment procedure.
6. Intonation comes after relief and action
Intonation compensates string length so fretted notes stay as close to pitch as the instrument allows. Changing saddle height changes how far a string is pressed to the fret; changing bridge position on a tremolo changes the system again.
That is why intonation is a finishing adjustment, not the first thing to do when a guitar “sounds out.”
Once the neck, bridge and action are stable, use How to Intonate an Electric Guitar.
7. Set pickup height near the end
Pickup height is measured relative to the strings. If you change action after setting the pickups, you change that distance automatically.
That matters because pickup height affects output, balance, attack and—in extreme cases—string vibration. Seymour Duncan’s current pickup-height guidance also emphasizes measuring with the string held at the last fret and using manufacturer specifications or a reasonable starting distance before fine-tuning by ear.
Use our Guitar Pickup Height Guide once the strings are in their final playing position.
8. Perform a real play test
Do not test only one open chord and one 12th-fret note. A finished setup should survive the way you actually use the guitar.
- play open and barre chords
- pick hard enough to match your normal rhythm attack
- check the 5th–12th fret region for buzz
- test wide bends high on the neck
- compare pickup positions clean and distorted
- check tuning after tremolo use if applicable
If the guitar fails only in one tiny area, the next move may be diagnosis rather than another global adjustment.
When a setup problem becomes a repair problem
A normal setup adjusts components that are designed to be adjusted. Fret leveling, replacing a badly cut nut, repairing stripped hardware or correcting serious neck geometry is a different category of work.
One useful warning sign is when a single localized fault forces the entire setup into a compromise. If one fret buzzes badly and the only “fix” is raising every string, investigate the fret. If first-position chords are sharp while upper-neck intonation is good, investigate the nut.
Our Fret Buzz guide is useful when the symptom does not match a simple action or relief problem.
A setup decision tree: start from the symptom
The guitar setup order is useful, but sometimes you are not performing a complete setup—you are chasing one symptom. In that case, use the symptom to decide where to enter the chain.
Open strings buzz
Inspect nut slots, loose hardware and neck relief before raising the bridge.
Middle frets buzz
Check relief and fret consistency before assuming global action is too low.
Upper frets choke
Check final action, radius interaction and upper-fret level.
First-position chords play sharp
Check nut-slot height and fretting pressure before moving intonation saddles.
Tremolo will not sit level
Balance spring tension against the final string gauge and tuning.
Neck pickup suddenly sounds too strong
If action was lowered recently, recheck pickup-to-string distance.
Full setup vs maintenance check
Not every string change deserves a complete setup. If you install the same gauge, use the same tuning and the guitar still feels right, a quick check is enough.
A full sequence becomes more useful after:
- a meaningful string-gauge change
- a large tuning change
- seasonal neck movement
- bridge or nut work
- fret work
- a change from floating to decked tremolo setup
- persistent playability problems whose cause is unclear
In other words, setup is not a ritual. It is a controlled response to changed geometry.
Setup order for a Floyd Rose or Ibanez Edge-style guitar
Floating double-locking systems deserve their own sequence because tuning and bridge angle are mechanically coupled.
Ibanez maintains separate manuals for Edge, Lo-Pro Edge, Edge-Zero and other systems. Use the exact manual for your bridge rather than assuming every double-locking unit shares identical adjustment details.
Setup order for a Strat-style non-locking tremolo
A non-locking Strat bridge is simpler but the spring balance still matters if the bridge floats.
- Install the final strings and tune.
- Set relief.
- Establish spring tension and bridge angle.
- Set saddle action and radius.
- Retune and verify bridge angle again.
- Set intonation.
- Set pickup height.
If the bridge is decked against the body, the system becomes less sensitive to small tension changes because rearward movement is mechanically limited.
Setup order for a fixed bridge or Tune-o-Matic
Fixed systems remove spring balance from the equation, so the chain is shorter:
strings/tuning → relief → nut check → action → intonation → pickup height.
This simplicity is one reason fixed bridges are convenient for players who change tunings regularly.
Factory specification vs personal setup
Factory numbers are designed to put a large number of instruments into a reliable, playable range. They are valuable baselines, especially when diagnosing a guitar that has drifted far from normal.
They are not proof that your guitar must remain at those numbers forever. Fender’s current Stratocaster guidance, for example, explicitly states that players with a light touch can use lower action while others need more height to avoid rattles.
A professional-feeling personal setup starts from repeatable reference values and then adapts to the player’s attack, string gauge, radius and tolerance for mechanical noise.
When should you stop and take the guitar to a tech?
Routine setup is reversible. Repairs are not always reversible. Stop if you encounter:
- a truss rod that requires excessive force
- a bridge post or stud that visibly leans or moves in the body
- a nut that clearly requires material removal and you do not have the correct files
- one or more high frets that need leveling
- a twisted neck or geometry that normal relief adjustment cannot correct
- stripped saddle, locking-nut or bridge hardware
Fender’s own current setup guidance gives the same basic warning for truss rods: if you meet excessive resistance, if adjustment has no effect or if the instrument needs constant correction, stop and use a qualified repairer.
Keep a setup log if you own several guitars
A simple record turns future troubleshooting into comparison instead of memory. For each guitar, note:
- date
- string brand and gauge
- tuning
- relief measurement and reference fret
- high E and low E action with reference fret
- bridge configuration: fixed, decked, floating or blocked
- pickup-height baseline
If a guitar suddenly feels wrong six months later, those numbers tell you what actually moved. This is especially useful when seasonal changes affect several instruments differently.
The final setup audit
Before declaring a setup finished, answer these questions:
- Does the guitar return to tune after normal playing and tremolo use?
- Do open chords and first-position notes sound normal?
- Does the middle of the neck feel consistent?
- Do high bends sustain without choking?
- Does hard picking create acceptable rather than excessive buzz?
- Is intonation sensible at the 12th fret and musically consistent elsewhere?
- Do neck and bridge pickups transition at useful levels?
If the answer is yes across the instrument, stop adjusting. That is what a good guitar setup order is supposed to accomplish: fewer circular corrections and a guitar you stop thinking about once you start playing.
What changes after fret leveling or a new nut?
Fret and nut work can reset the assumptions behind your previous setup. Freshly leveled frets may allow lower action because the fret plane is more consistent. A newly cut nut can change first-position feel and reduce the amount that fretted notes pull sharp near the headstock.
After either job, do not simply restore every old measurement. Treat the guitar as a new baseline: strings and tuning, relief, nut verification, bridge/action, intonation, then pickup height.
Climate changes: re-measure before you re-adjust
Seasonal movement usually appears first as a change in relief because the neck is a long wooden structure under load. If a guitar that was stable for months suddenly buzzes or feels taller, take measurements before touching multiple systems.
Often the correct fix is a small relief correction followed by a check of the existing action—not a complete teardown of the setup. This is another reason to keep a simple setup log for instruments you care about.
Why the guitar setup order prevents “setup spirals”
A setup spiral happens when one adjustment is used to compensate for another: the neck has too much relief, so the bridge is lowered; the upper frets now buzz, so the bridge is raised; intonation is changed; pickup height is changed; then relief is finally corrected and every downstream setting moves again.
Following the guitar setup order prevents this. earlier setup work first, later fine-tuning last. The sequence is not tradition—it is a way to avoid doing the same work twice.
FAQ
Should I set action before neck relief?
No. Establish reasonable relief first, then set final bridge height. Otherwise you may use the bridge to compensate for a neck curve you later change.
Should pickup height be set before intonation?
It can be roughly positioned earlier, but final pickup height belongs near the end because action changes alter pickup-to-string distance.
Where does a Floyd Rose setup fit in the order?
After string gauge and tuning are chosen, establish neck relief, then balance the floating bridge and spring tension before final action and intonation. Locking and fine-tuning come after the basic geometry is stable.
Do I need a full setup every time I change strings?
No. Replacing the same gauge with the same tuning often needs little or no adjustment. A significant gauge or tuning change is when the full chain is worth rechecking.